
Below you will find instructions to make a pouch yourself to carry your baby. If you need any clarification, contact me, I will be happy to help! It’s very easy! Good luck!
Note: These instructions are intended for personal use only. My goal is to enable as many parents as possible to carry their babies even if they cannot buy a sling. Please contact me if you intend to use these instructions in order to make slings for sale.
read here why Asteraki Slings are worth much more than they cost.
To take your measurements (the length of fabric you will need):
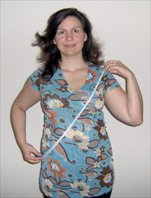 Your pouch will not need adjustment, which is why it must be sewn to your measurements from the start. See here why size matters!
Hold one end of the measuring tape on your shoulder (at the center of your shoulder, where your bra strap would be) and bring the other end forward to your side. You will place the measuring tape at the middle of your hip (where the side seam of your trousers would be) at a height of about two fingers below your navel. The measuring tape in front of you does not need to be stretched taut but should make the natural curve that a fabric would make around you. Double this measurement and add just 2-3 cm for the seam. (If you have measured according to the instructions above, you do not need to add any “margin” for your baby).
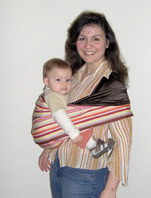
Note: If you are pregnant with a still “small” belly, like me in this photo, measure normally. If your belly is already large and affects the measurement, place the measuring tape above the bulge of your belly, under your chest, and continue normally!
You will need:
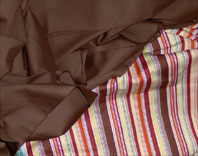 Fabric with a length as you measured it (see instructions above), having doubled it and having added a 2 cm margin for the seams, and a width of about 56 centimeters. The fabric you use for your pouch must be durable. Fabrics made from sarong material are not suitable for making a pouch, however beautiful they may be, because they cannot withstand the pressure applied to the seam. (If you want to use your sarong, you can do so in other ways). Your pouch will be more comfortable if the fabric you use has a little bit of stretch. Ideally its composition should be 97% cotton with 3% elastane. It is good if the fabric you use is not elastic. For newborn babies, you could use a more elastic fabric, but you should be careful to cut it in such a way that it “stretches” across the width and not along the length. For these instructions you will need two such fabrics! By choosing contrasting colors your pouch will look very beautiful when you fold the shoulder!
Thread that matches or contrasts. Use only durable threads! Here quality matters! Even though, according to the instructions below, you will make many seams to ensure safety, it is good to carefully choose the quality of all your materials!
A sewing machine. You don’t need to be a professional! A simple sewing machine will do! And if you don’t have one, perhaps you can guide a seamstress, or a relative of yours, to help you!
How to make your pouch:
(click on the photos to see them enlarged)
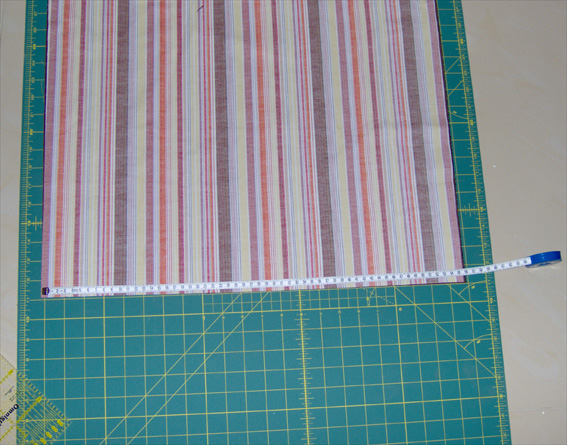
1. Having the fabric in the appropriate dimensions (length according to your measurement plus 2 cm margin for the seam x width 56 cm), place the fabrics together one on top of the other, with the right sides facing each other. (Pin them, if needed, for greater accuracy).
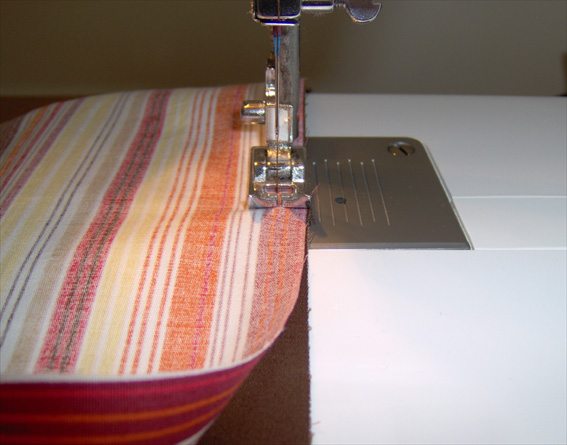
2. Sew the two fabrics together, along the two long sides.
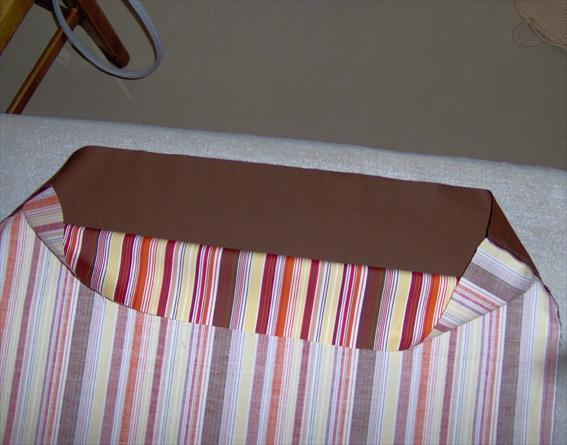
3. You now have the two fabrics sewn, right side to right side.
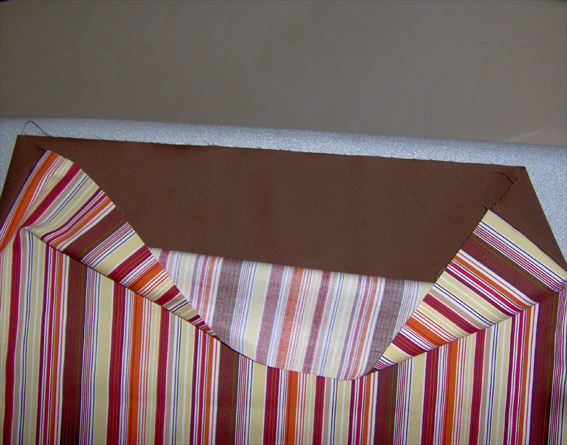
4. Passing your hand inside, turn them so that the right sides show on the outside.
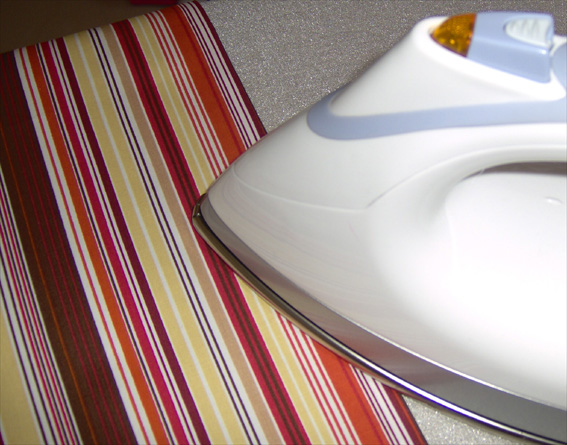
5. You can iron the edges carefully (folding exactly on the seam) to achieve greater accuracy in the next step.
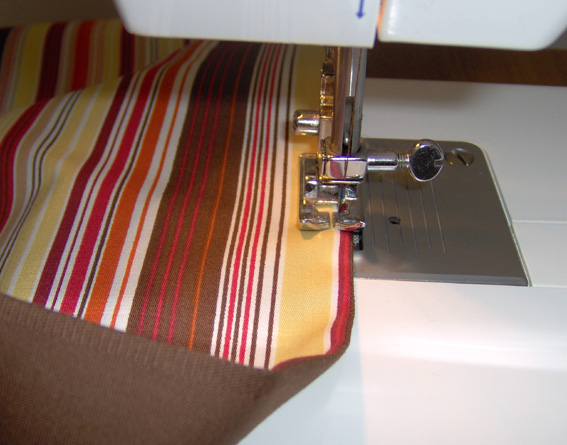
6. Then topstitch along the edges on both long sides.
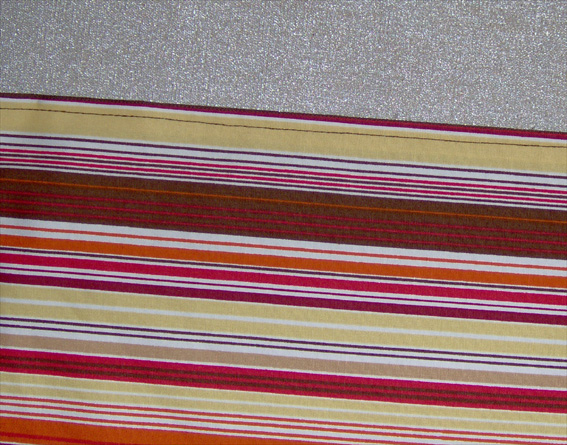
7. This is how the long sides will look now.
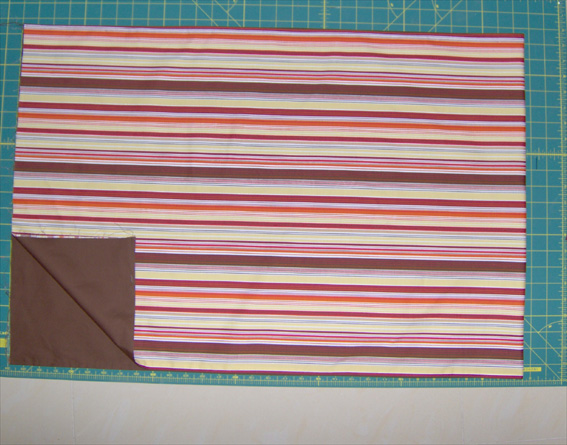
8. Fold the (now sewn) fabrics in two, in the middle (across the width).
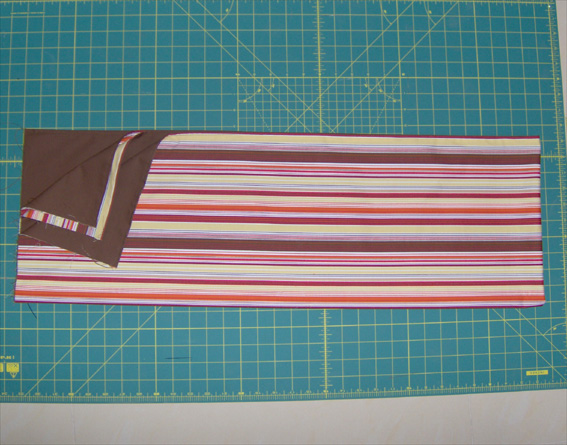
9. Fold in half again, this time along the length.
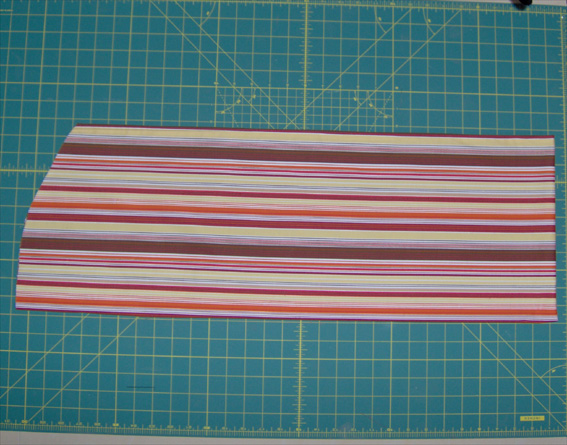
10. On the side where the fabrics are open (not at the fold), cut a curve, like half a “smile” at the edge of your pouch.
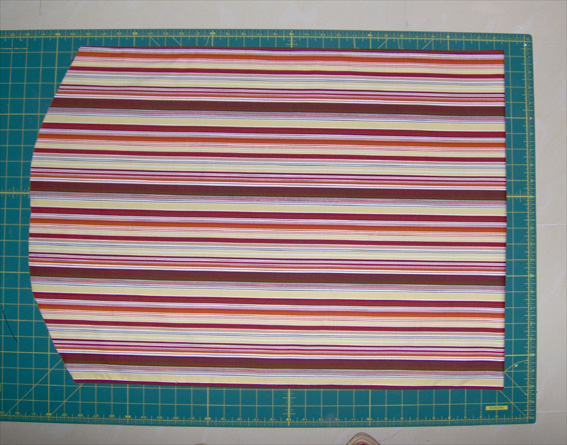
11. Unfold (once) your pouch, so that you can see the whole curve! A smile!
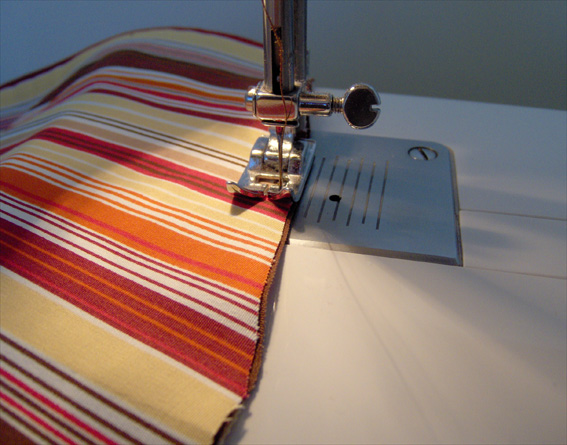
12. With the pouch folded in two like this, sew the curve, being careful to catch all four layers of fabric!
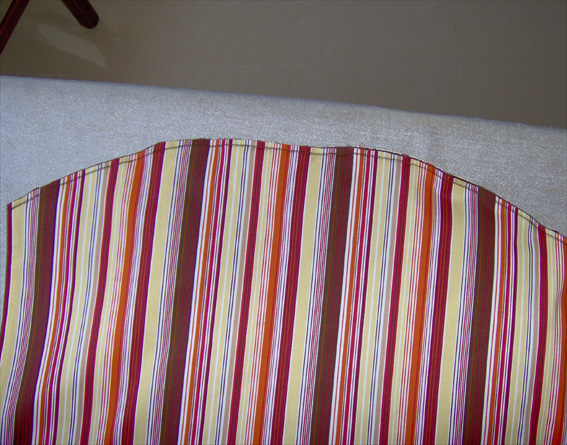
13. The curve sewn. The edges that show after the seam are the ones you cut.
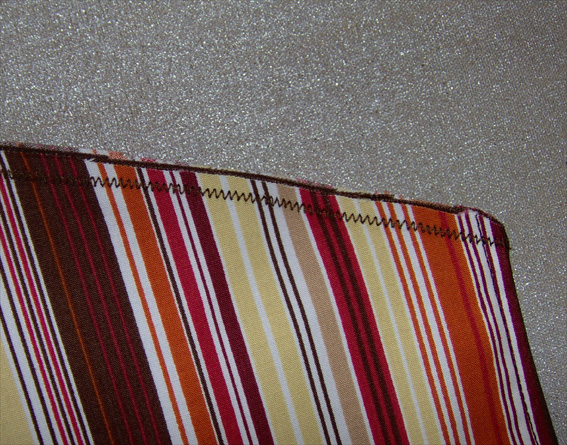
14. Especially if your fabric is elastic, use a zig-zag stitch or some other dense and stable stitch that your sewing machine has.
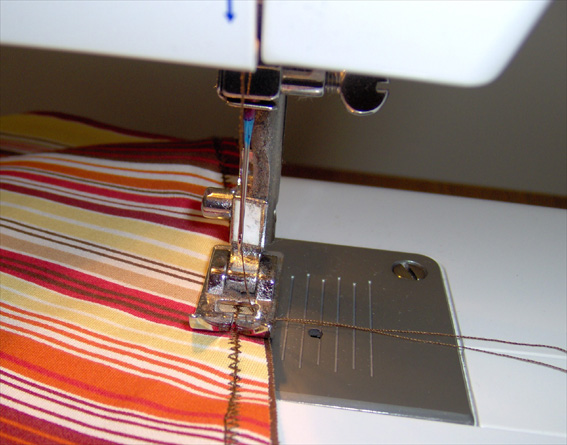
15. I usually also make a straight seam on top, for extra safety.
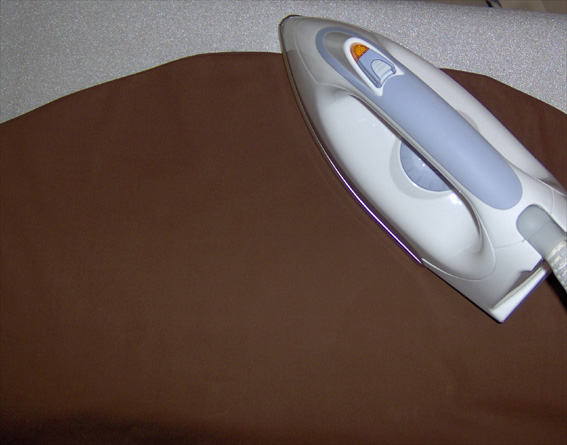
16. Now turn your pouch inside out, so that the inner side shows. Iron the curve, folding exactly on the seam.
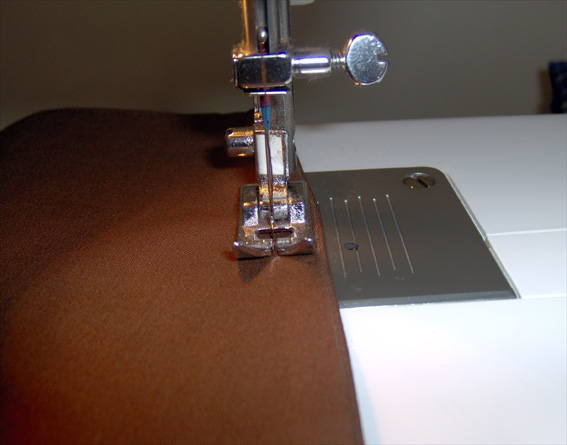
17. Sew about 1 centimeter from the edge, along the curve, essentially “enclosing” the previous seam inside the new one. The cut edges should now be “closed” between the two seams.
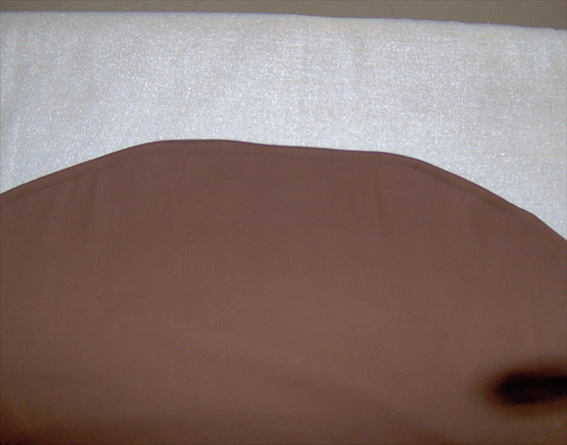
18. Your curve with the seam.
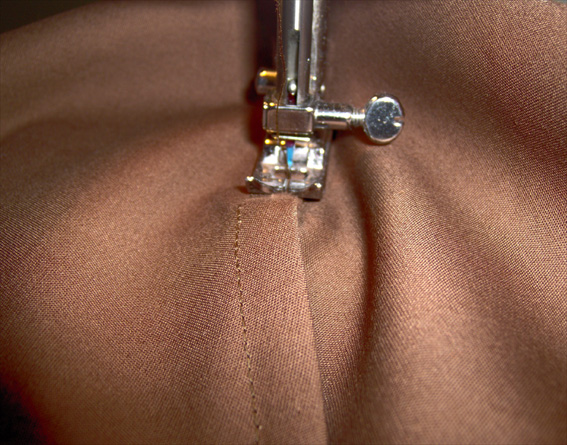
19. Open your pouch flat. The seam you made in the previous step will cause a strip of fabric to “stick up” vertically. Fold it to one side and “bring it down”, sewing carefully. (The result will be like the side seam of your jeans).
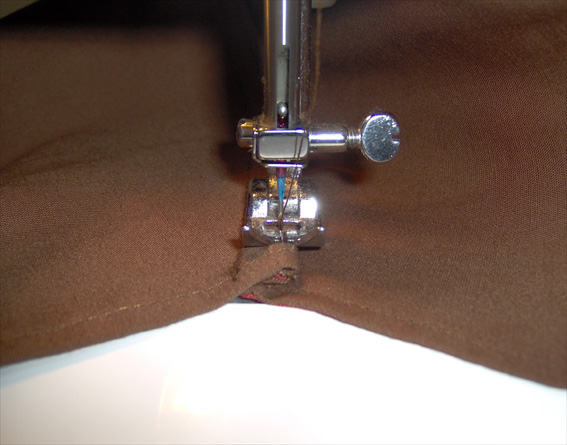
20. At the finish of the curve, to show the “bringing down” of the seam that “stuck up” vertically.
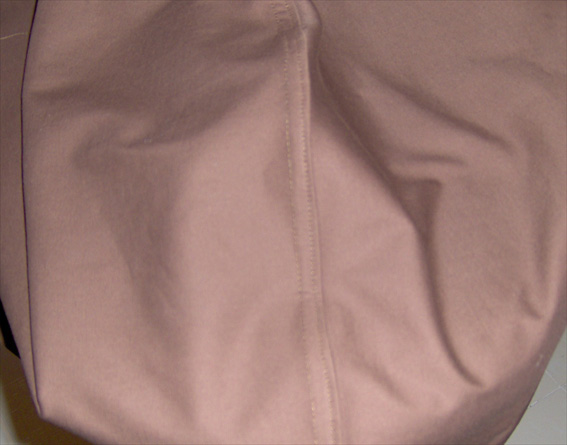
21. This is how your seam (the curve) will look on the inner side.
21. Congratulations! Your Pouch is ready!
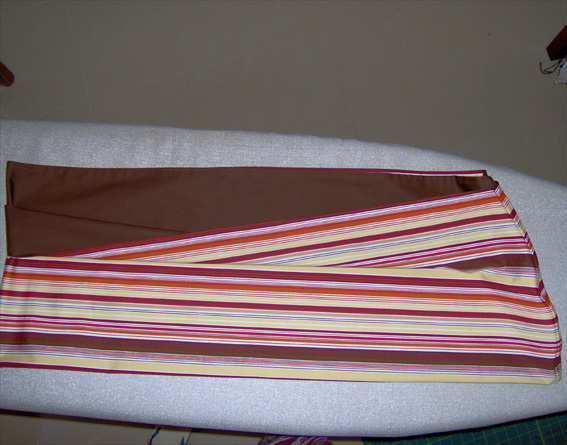
see instructions here: How to wear your pouch!