
Below you will find instructions to make your own ring sling to carry your baby. If you need any clarification, contact me, I’ll be happy to help! It’s very easy! Good luck!
Note: These instructions are intended for personal use only. My goal is to enable as many parents as possible to carry their babies, even if they cannot afford to buy a sling. Please contact me if you intend to use these instructions in order to make slings for sale.
read here why Asteraki Slings are worth far more than they cost.
You will need:
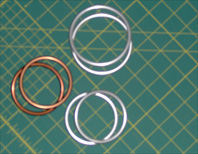
Rings made specifically for slings. Choose rings made especially for slings, which are manufactured only for this purpose, tested specifically for this purpose and have the appropriate thickness and weight. Aluminium* rings can be obtained from the following sites:
www.slingrings.com (America),
www.stellaris.se (Europe)
www.bigmamaslings.co.uk (Europe)
Material: In general, I prefer the look and feel of aluminium rings (as do the mums who ask me for slings, they’re generally more popular than the plastic ones). Plastic rings are used for fabrics like fleece or stretchy ones like jersey, as the fabric grips better (it doesn’t slip as much). They may generally be easier for beginners (for people using slings for the first time) because they are thicker.
Size: If the fabric is very wide or thick, then you need the large size; if it’s narrower or thinner (like very fine silk), then you need the medium. I use small rings only for ring slings made of solarveil; in general they are only suitable when the fabric is both very narrow and very thin.
*Note: Curtain rings or rings for other crafts are NOT suitable for slings, because they bend or break (CAUTION!). They usually have a thickness of about 3.2 millimetres. (Whereas proper aluminium rings have a thickness of 6.2 millimetres).
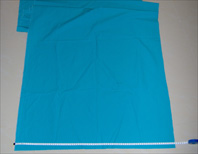
Fabric about 2.10 m long and about 75 centimetres wide. The fabric you’ll use for your sling must be strong. Sarong fabrics are not suitable for ring slings, however beautiful they may be, because they can’t withstand the pressure exerted on the seam. (If you want to use your sarong, you can do so in other ways).
It’s best if the fabric you use is not stretchy. For newborns, you could use a slightly stretchy fabric, but you’d take care to cut it in such a way that it “stretches” across the width and not along the length.
You should also bear in mind that on a ring sling the fabric will show on both of its sides, so choose a fabric that is beautiful on both sides.
Prefer natural fabrics: cotton, linen or silk. Avoid carrying your baby with fabrics that don’t breathe!
Thread that matches or contrasts. Use only strong thread! Here quality matters! Even though, following the instructions below, you’ll make many seams to ensure safety, it’s best to carefully choose the quality of all your materials!
A sewing machine. You don’t need to be a professional! A simple sewing machine will do! And if you don’t have one, perhaps you can guide a seamstress, or a relative of yours, to help you!
read more: The right rings and shoulder style for comfort and safety
How to make your ring sling:
(click on the photos to see them enlarged)
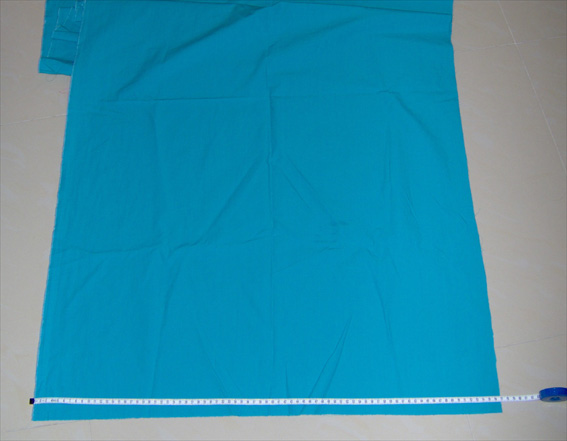
1. With the fabric at the appropriate dimensions (2.10 x 0.75), you’ll need to “hem” three sides. Leave one narrow side as it is for now (that will be the one you’ll thread through the rings).
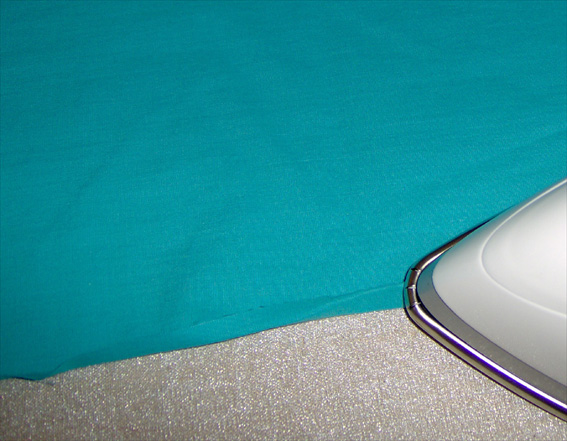
2. You may find the stitching easier if you do a little prep work with your iron, folding the edges over.
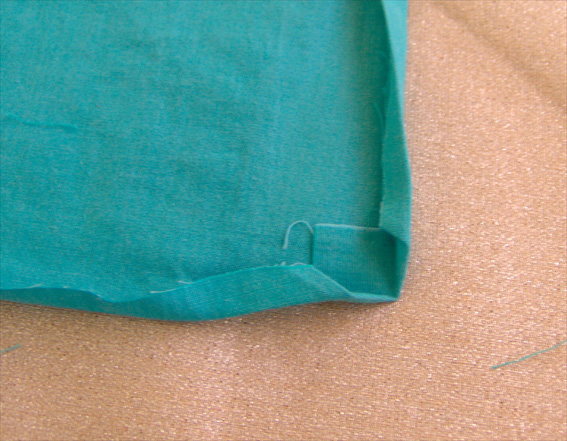
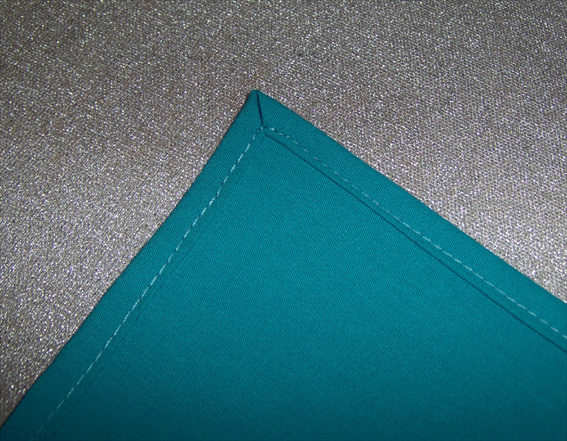
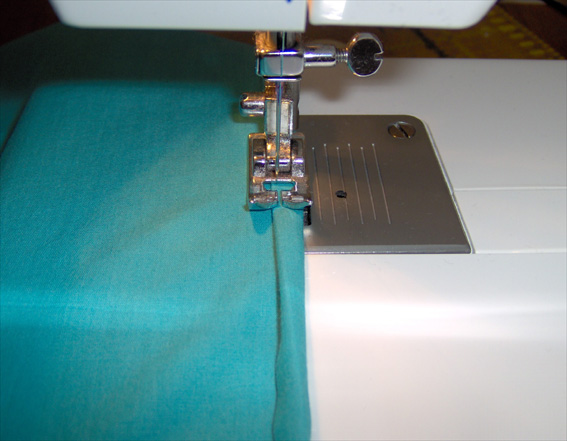
3. Fold the two corners inward when you iron the “hem”, so that once you sew it you have neat corners without too much bulk.
4. Now stitch the three sides (except the one narrow side).

If you want instructions on how to make symmetrical pleats, visit Jan Andrea’s page.
There are many different styles you could use.
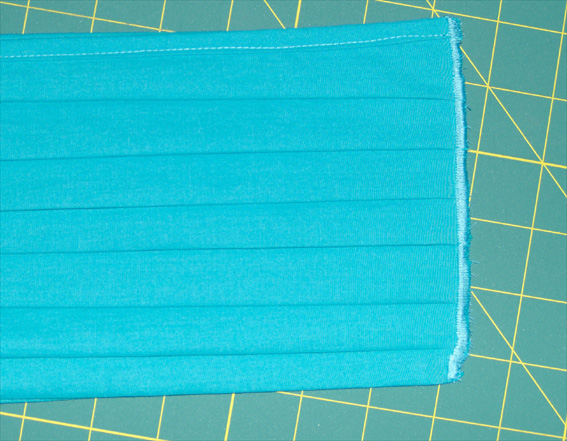
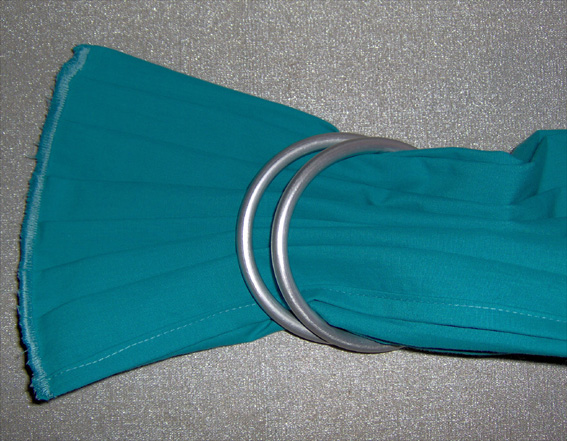
5. Next you need to decide which “shoulder style” you want to use to sew the fabric onto the rings. I use (with permission) the “symmetrical pleats”, invented by Jan Andrea, who retains all rights.
6. With the pleats ready (or whatever other style you decided to use) on the side you’d left un-hemmed, you can now thread the edge through the rings (both of them!).
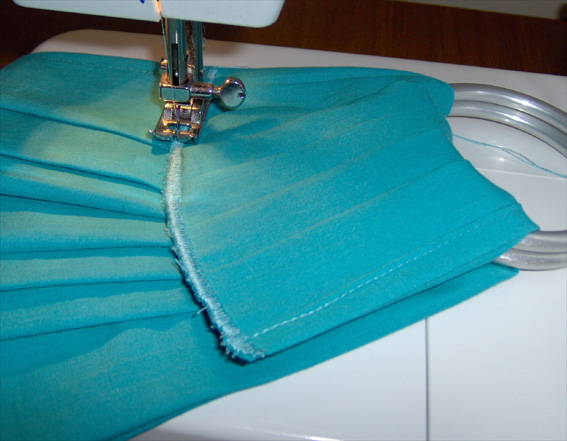
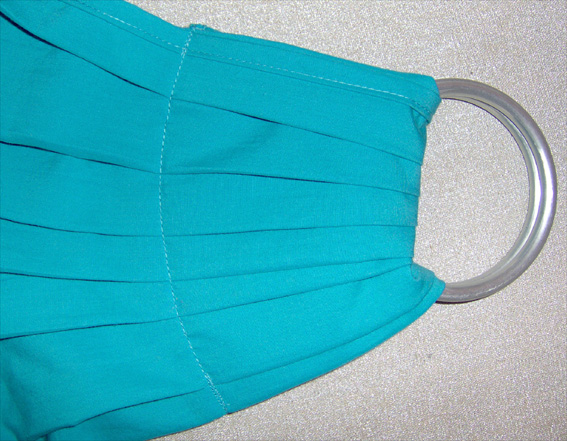
7. Fold the edge over the rings and make a seam at the edge, over the pleats, sewing the rings inside the folded fabric.
8. On the right side you now have just a single seam.
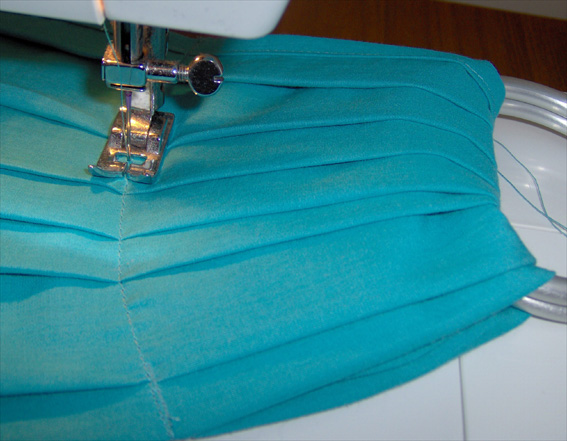
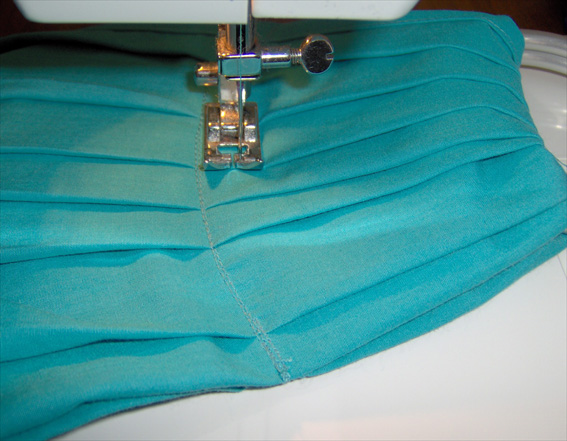
9. Make another seam (from the right side this time) over the previous one.
10. Move your needle 2 centimetres further in (towards the rings) and make another seam across the full width over the pleats.
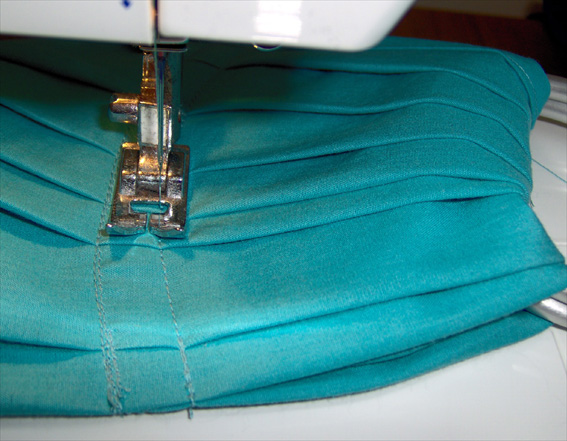
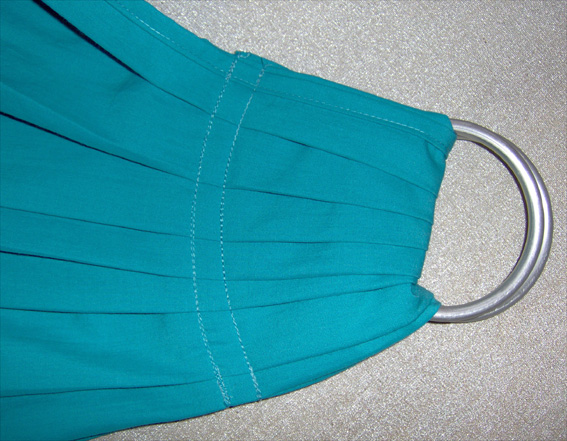
11. Repeat the seam from step 10, over the other one.
12. Now you have two (double) seams about 2 centimetres apart.
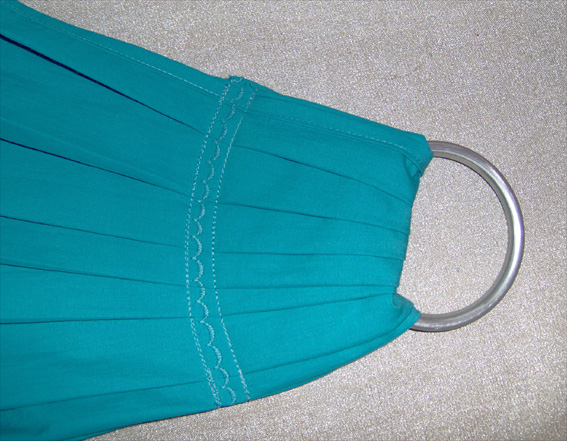
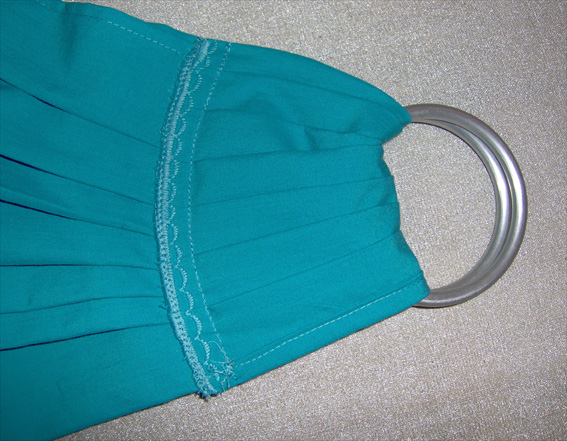
13. Make a “decorative” seam between the two previous ones, using whatever setting on your machine makes “dense” stitches. (If you don’t have a “decorative” seam, you can simply do a dense zig-zag with wide stitches).
14. This is how your sling will look from the inner side
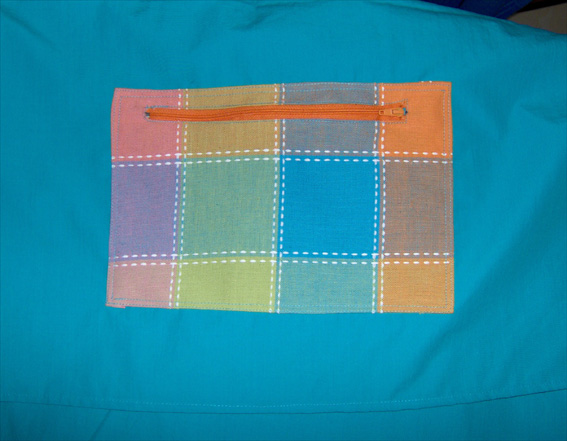
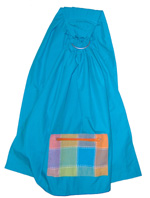
15. If you’re going to sew a pocket or some design onto the end of the tail, you should put it on the inner side of the sling (on the “wrong” side, where the fold of the edge with the rings shows), as this side will end up showing once you thread the sling through the rings to wear it.
see instructions here: How to wear your ring sling!