
Below you will find instructions to make a mei tai yourself to carry your baby. If you need any clarification, contact me, I will be happy to help! It’s very easy! Good luck!
Note: These instructions are intended for personal use only. My goal is to enable as many parents as possible to carry their babies even if they cannot buy a sling. Please contact me if you intend to use these instructions in order to make slings for sale.
You will need:
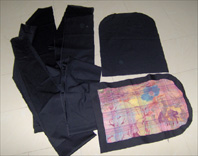
Fabric for the straps (shoulder straps and waist straps) and the body (front and back). The fabric you use for your mei tai must be durable and tightly woven. The fabric you use must have no stretch at all. Ideal fabrics for mei tais are cotton twills (in Greek, besides “twill” it is often also called dimito, or diagonal, and you will recognize it by its diagonal weave, cotton gabardine). Definitely prefer cotton fabrics and avoid carrying your baby with fabrics that don’t breathe!
The fabric you use does not need to look “good” on both sides, since only one side (the right side) will show when you finish. You could also use fabrics of a different color for the front part and for the back or for the straps.
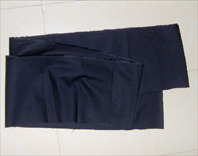
For the shoulder straps: The length of the strap that your mei tai will have at the shoulders depends on your preferences and your size. Shoulder straps with a length of 2.10 m usually cover most people (if you are particularly tall or large you may want to increase the length). The width of the strap also depends on your preferences and your comfort. In general, wider straps are more comfortable (but warmer and perhaps harder to tie). Also, the narrower the strap is on your shoulders, the more soft padding (a cushion) you need to add. For very wide straps you could even add no padding at all. A comfortable final strap width on your shoulder is about 12-15 cm (final means after it has been folded and sewn, so the width of the fabric you cut for each strap should be double that, i.e. about 25-32 cm). In conclusion, you need two long, narrow pieces of fabric with dimensions: 210 cm x 25 cm for the shoulder straps.
For the waist straps: Again, the length and width that the straps will have at your waist depends on your size and your preferences. A good general rule is for them to have about the same width (they could be narrower) as the shoulder straps and half the length. Indicatively, according to the above, you need two pieces of fabric with dimensions 105 cm x 25 cm for the waist straps. The waist straps do not need padding.
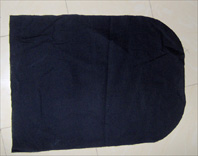
For the body: The body of your mei tai will consist of two parts, the front and the back. They could be the same color and fabric or different. Again the length and width depend on your preferences (and perhaps the size of your baby). However, given that you can easily “shorten” the length for a very small baby by folding out the waist straps, it is good for the length you choose to also cover a bigger child. I usually make a “rounded” top on my mei tais, which offers support to small babies or babies who fell asleep in their mom’s arms and which folds outward when not necessary, that is why the length of the fabric when I cut it is 10 cm longer than it would be if I cut a rectangular mei tai (without that “rounded” edge at the baby’s head). Using indicative dimensions then, for the body of your mei tai you need two pieces of fabric with dimensions 62 cm x 45 cm (with the aim of “rounding” the corners at the top part, as in the photo).
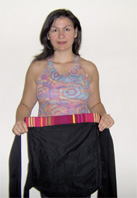
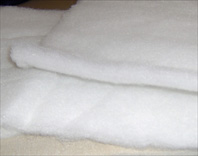
Padding (a cushion) for the shoulder straps and the top part on the body of your mei tai. As already mentioned, this soft padding is optional. It could be thick batting (if you can only find thin, you can add two or three layers if you prefer) or thick fleece fabric (again it could be more than one layer).
For the shoulder straps: you will need soft padding if you make them relatively narrow, in order for them not to press on your shoulders when you wear your mei tai. Their width should be a little narrower than the final width of the strap and the length (which always depends on your preferences and your size) should cover your shoulders. Personally, I like the padding to cover part of my back too when I wear my mei tai, which is why the padding I use is relatively long.
Using indicative dimensions again (and according to the above dimensions for the shoulder straps), you need two pieces of thick batting with dimensions 40 cm x 11 cm.
For the top part of the “body”: you will need soft padding if you choose to make the “rounded” top edge for extra support. Its width should be a little smaller than the width of the “body” of your mei tai and the length should be a little less than half its length. Using indicative dimensions again (and according to the above dimensions for the body of the mei tai), you need one piece of thick batting with dimensions 30 cm x 42 cm (from which you will also cut the corners “rounded”).
Thread that matches or contrasts. Use only durable threads! Here quality matters! Even though, according to the instructions below, you will make many seams to ensure safety, it is good to carefully choose the quality of all your materials!
A sewing machine. You don’t need to be a professional! A simple sewing machine will do! And if you don’t have one, perhaps you can guide a seamstress, or a relative of yours, to help you!
Note that because the fabric for the mei tai is relatively thick and because you will need to sew many layers of fabric together, you may need to choose a thicker needle than usual.
read more: Thin fabrics for a mei tai because of the heat?
How to make your mei tai:
(click on the photos to see them enlarged)
A. To make the shoulder straps:
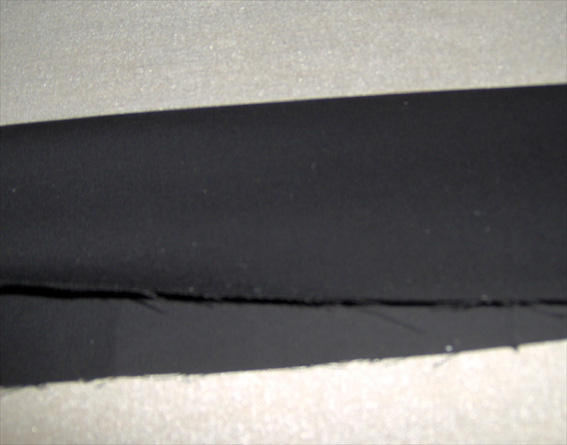
1. Fold the strap along its length (iron the fold if you like), so that you can see exactly where its “middle” is. Note: the “right” side of the fabric will be on the inside, that is, you will see the wrong side.
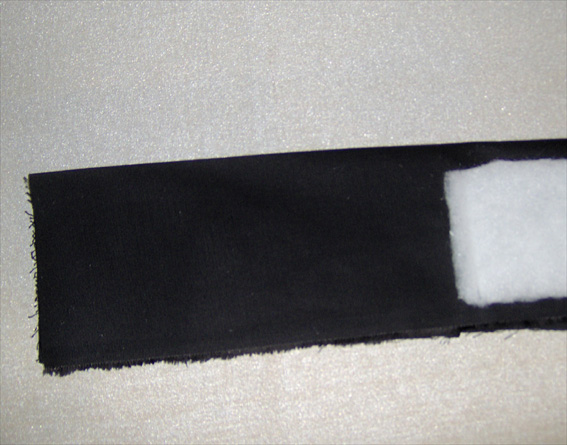
2. Place the padding 15 – 20 cm from the edge of the strap (the “start”). You can pin it there temporarily if you like, but be careful to catch only one layer of fabric.
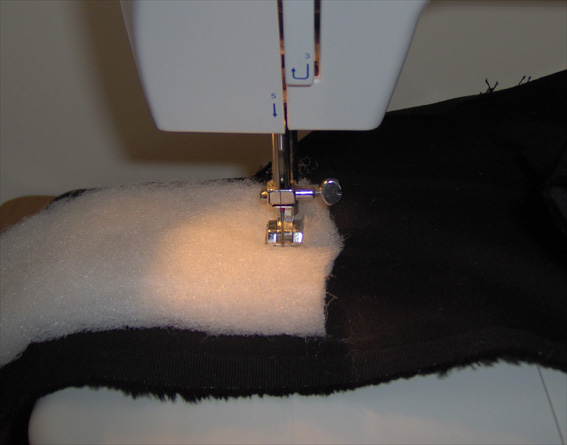
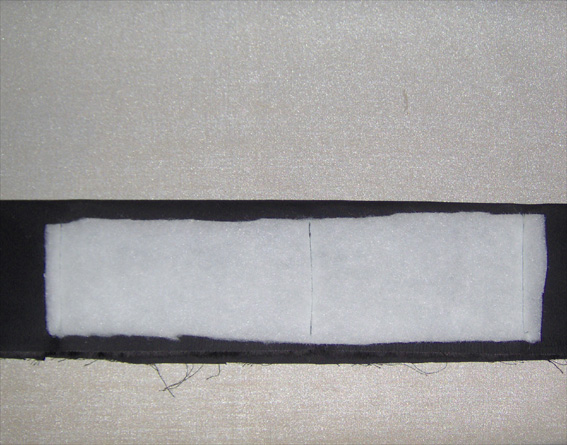
3. Temporarily unfold the strap and sew the padding where you placed it, with vertical seams at the two ends and in the middle.
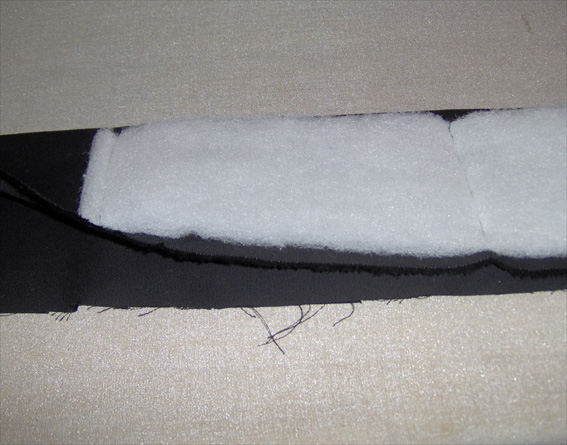
4. Fold the strap again. Note once more that the padding is sewn to only one “layer” of fabric.
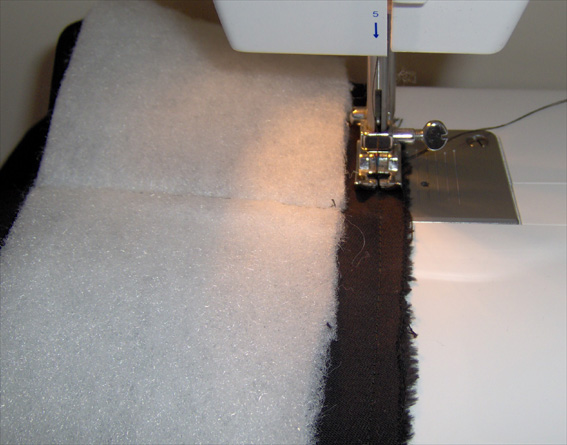
5. Then stitch the open part of the “fold”, that is, the whole length of the strap, so that it closes. (Do not stitch the one end of it, the one we called the “start” a little earlier!)
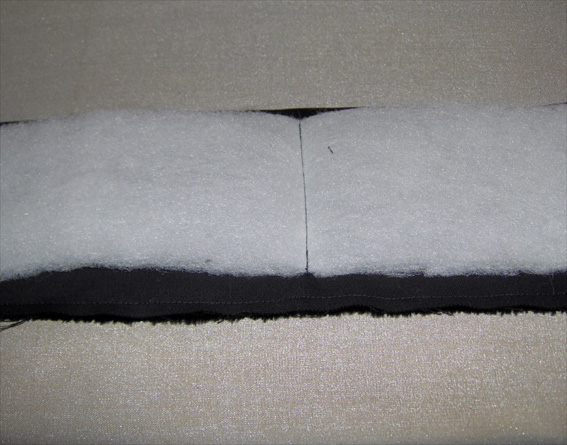
6. Your strap will now have the form of a “tube” and will of course be inside out.
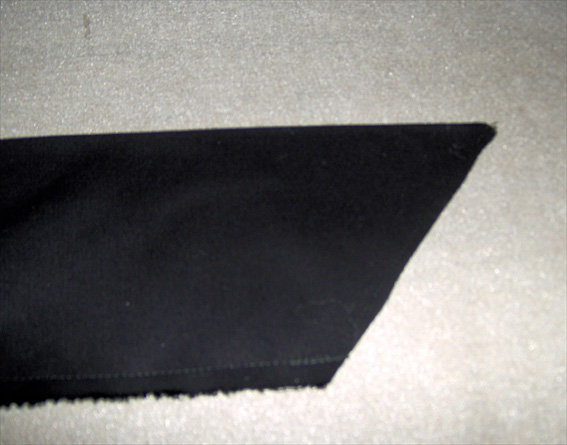
7. It is good to sew the edge (the end of the strap) at an angle; this will make your strap prettier and tying the knots easier.
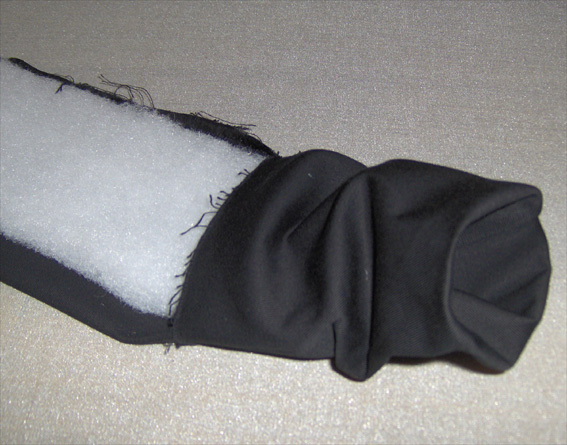
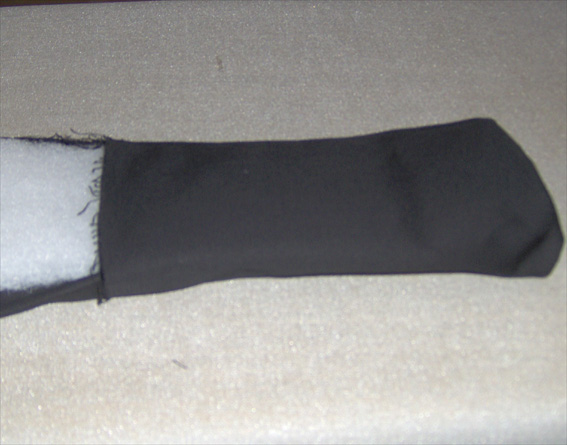
8. Now turn your strap to the right side, starting from the “start” and gradually turning all the fabric. Be especially careful how you turn it at the point where the padding is!
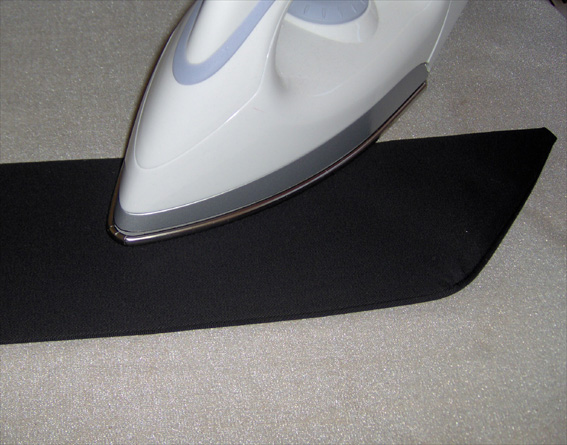
9. Now that your strap is turned right side out, iron it carefully (one side along the length will be the sewn one and the other will be folded). Do not iron with a lot of pressure over the padding (this would result in it not being so “fluffy”).
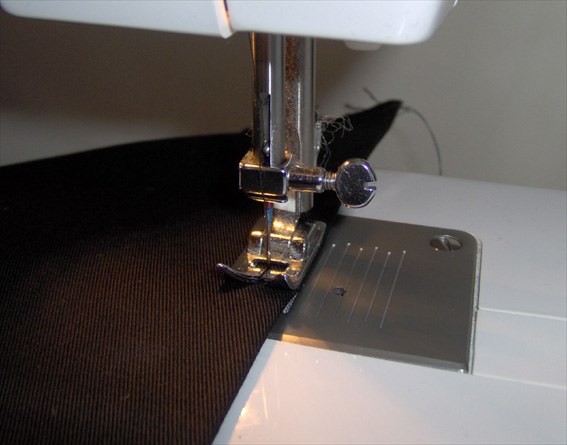
10. Then stitch all around the whole strap again, about 0.5 cm from the edge (topstitching).
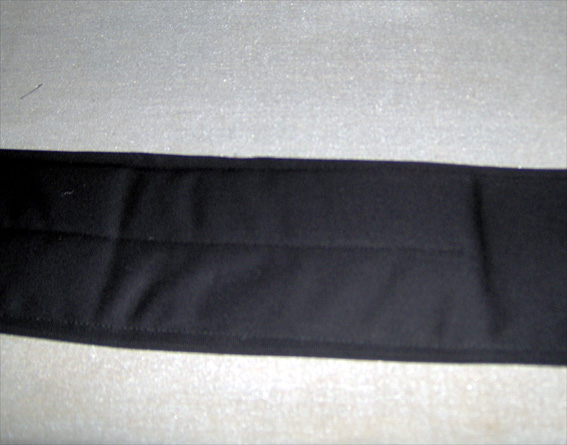
Steps 1-11 for the other strap!
11. The beginning and the end of your seam will be the vertical seams with which you sewed the padding in step 3. (Your strap will now resemble, at this point, a school bag strap!) Your first strap is ready! Repeat exactly the same steps to make the other shoulder strap for your mei tai too!
B. To make the waist straps:
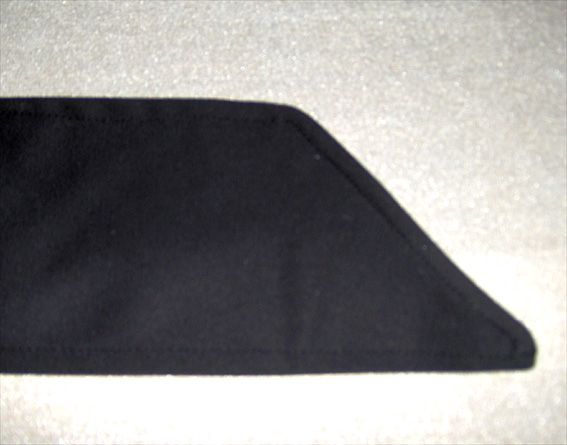
14. To make the waist straps, you will follow the same procedure as with the shoulder straps, but without steps 2-4 and 12-13 (which concern placing the padding). That is: fold along the length, stitch the open part, turn right side out, and topstitch all around the whole perimeter! Easy!
C. To sew the straps onto the body (back) of your mei tai:
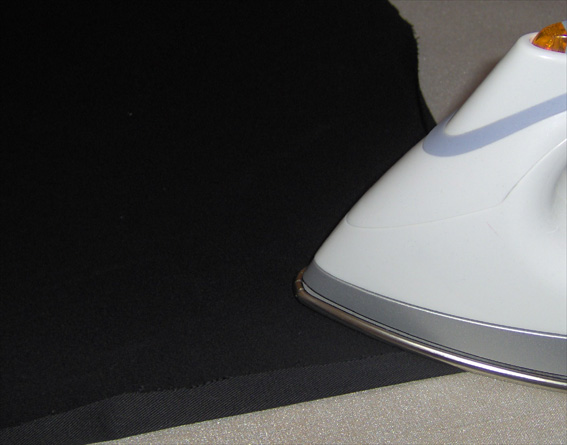
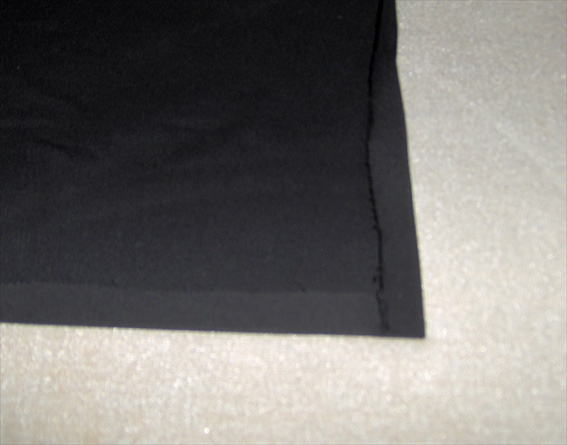
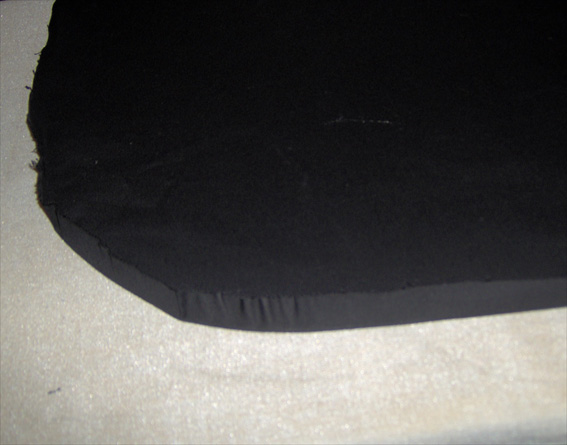
15. On the piece of fabric that you will use as the back of your mei tai, fold and iron the corners inward (like a hem), about 1-1.5 cm. The right side of the fabric will be underneath (you will see the wrong side).
16. You will do the same on the “rounded” corners at the top part. (You could fold and iron the whole perimeter of the body, but later, when you put on the front part you will have to be careful to stitch exactly on the crease, so it may be easier for now to fold only the corners).
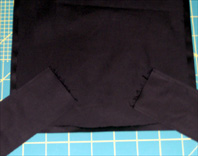
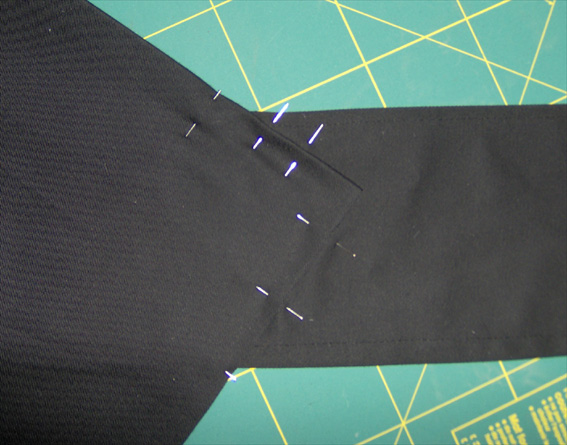
17. Now place (and pin) the waist straps at the bottom part of your mei tai. Be careful to put at least 7 cm of the end of each strap inside the body (that is, don’t put them edge-to-edge).
Note: You could place them completely horizontally or at an angle. When you wear your mei tai, you will find that (especially when you carry your baby on your back) the straps form an “angle” anyway with the tying and the baby’s weight, so it is good to “accept” the angle as necessary! I find an angle of about 45 degrees very comfortable for the waist straps.
(Note: the angle could be as acute or obtuse as suits you, but the two straps must have exactly the same angle as each other, otherwise your mei tai will “lean” when you wear it and it will not be comfortable).
In the photo on the left we see the “right” side of the fabric on the strap (folded as we made it in step 15).
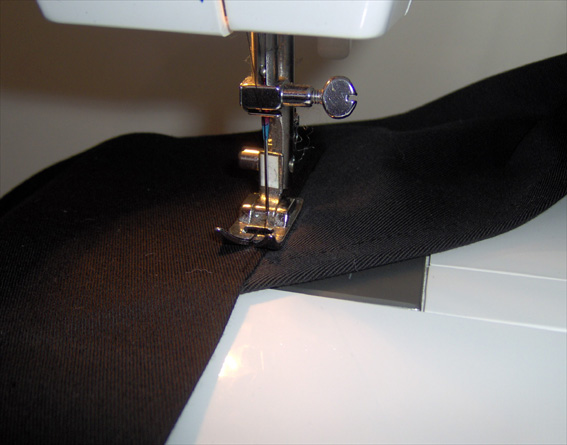
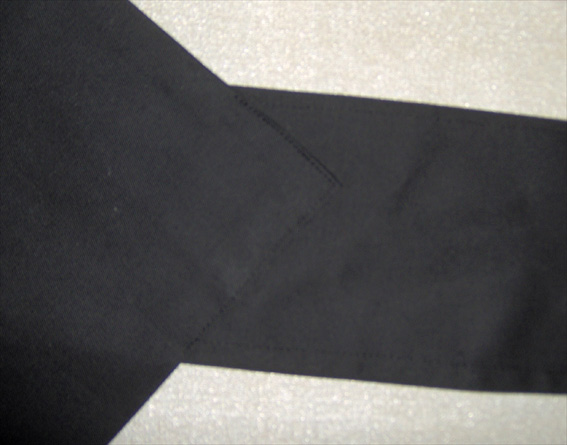
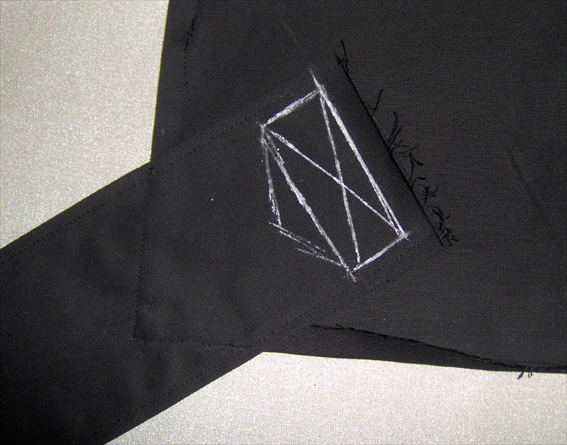
18. Now stitch the strap onto the body of the back as close as you can to the (folded) edge of the back. It will be easier to do this if on the sewing machine you can see the “right” side of the fabric. (Note: Later we will make many more seams that will hold the straps to the body of the mei tai).
19. Now we will make “reinforcement seams”, which will take the tension from the straps. They could have various shapes, as long as all the “angles” of pull are covered. The shape I prefer (and which I find fully covers the “stresses” that the fabric takes when I wear it) is a rectangle with an X in the middle and with a “roof” that follows the angle of the body.
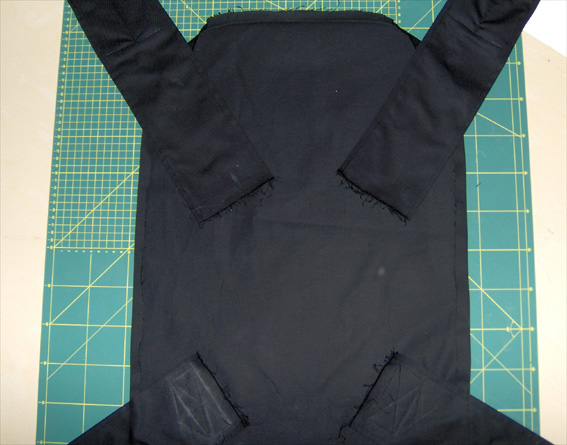
20. Follow steps 17 and 18 for the shoulder straps too. Again the angle depends on your comfort (but make sure, as before, that the angle is the same for both straps). Stitch the straps onto the body of the back.
21. This time, before the reinforcement seams, place the padding on the top part of the body (and under the straps)…
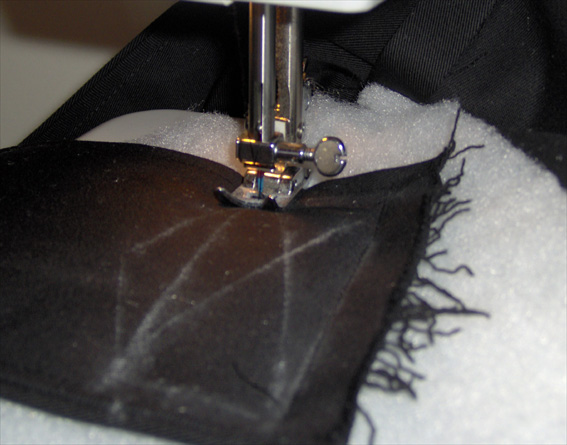
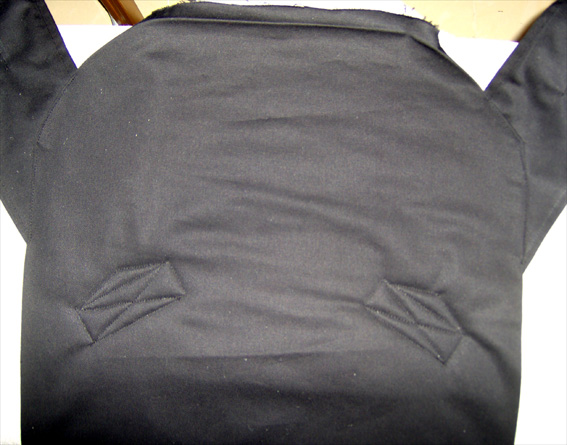
22. … so that you “catch” it in place with the reinforcement seams.
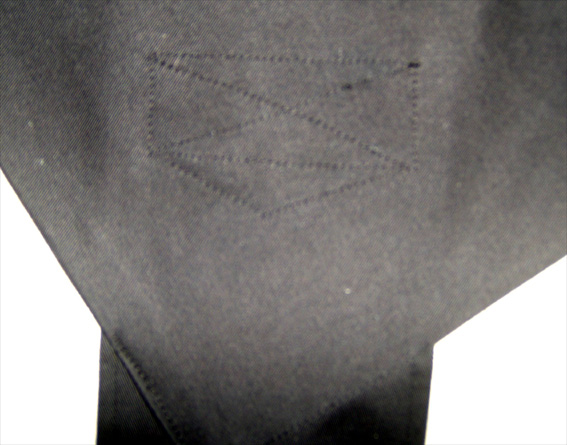
23. The reinforcement seams as they appear from the right side of the fabric on the “back” of your mei tai (this will be the inner side when you wear it, where your baby’s little back will rest, so they won’t show on the outside).
D. To join the front part with the back and finish your mei tai:
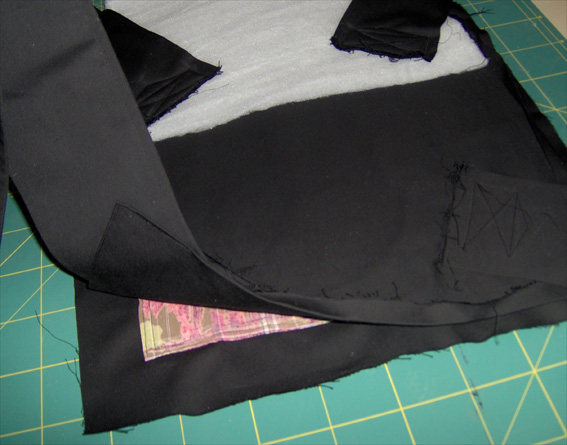
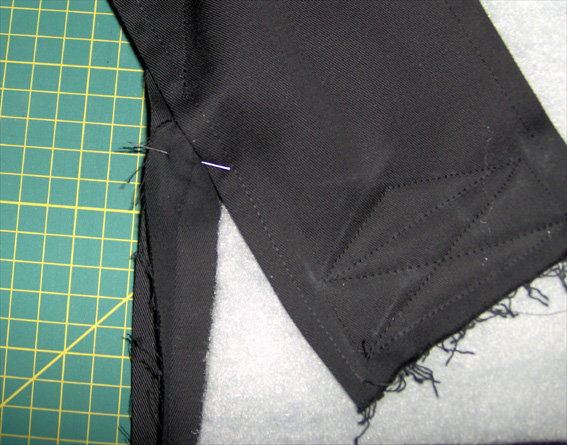
24. Place the front part underneath and the back (with the straps sewn on) on top of it. Note: you will place the two fabrics right side to right side (the right sides on the inside and the wrong sides will show).
25. Pin the two fabrics together if you like. Note, you will not pin the points where the straps are sewn and you will not pin the bottom (horizontal) side at all.
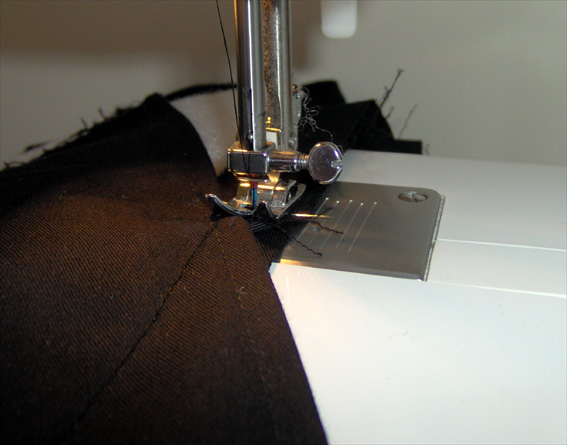
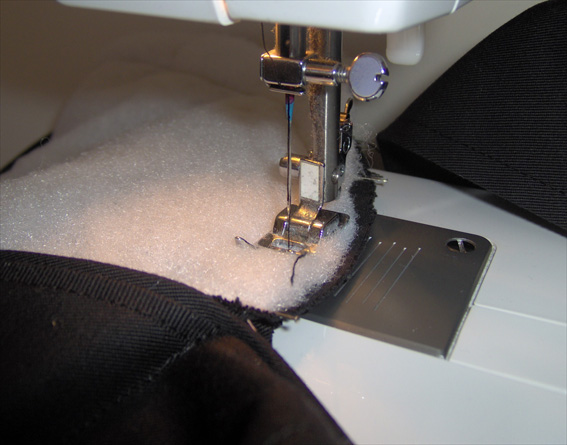
26. Now sew the front part to the back on all the sides you have pinned (that is, not the points where the straps are sewn, and you will leave the bottom part completely open).
27. At the top (rounded) part, you will also sew in the padding (so that you make sure once more that it won’t move out of place (especially after washing in the washing machine!).
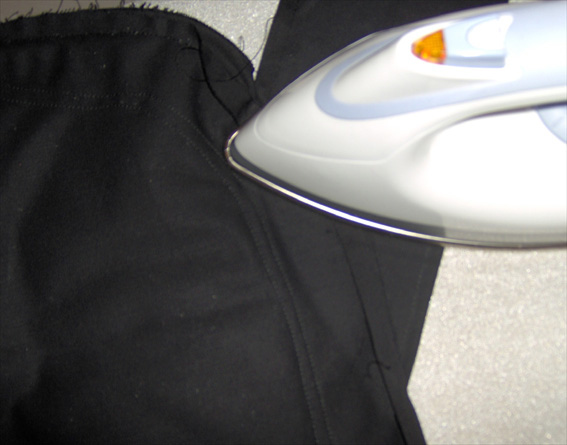
28. You are ready to turn your mei tai right side out, but first, you should do a little preparation with the iron that will make your life easier in the next steps: Fold (and iron) the points that you did not stitch, that is, the points where the straps are sewn, following the seam that will show underneath.
29. You will do the same with the whole bottom (horizontal) side, paying attention to the corners.
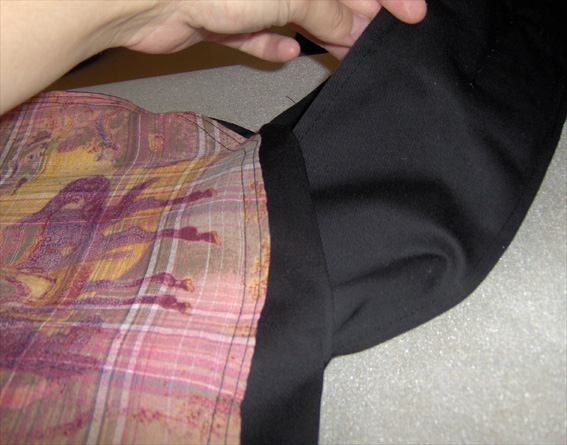
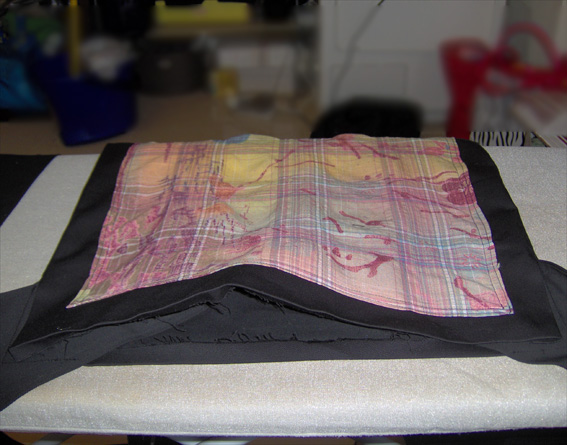
30. Now turn your mei tai right side out (you will do this easily from the bottom part). Pull the straps out through the openings (that you left unstitched for this purpose).
31. The bottom side is completely open. If needed, put your hand inside the body of the mei tai and smooth out the padding well under the straps.
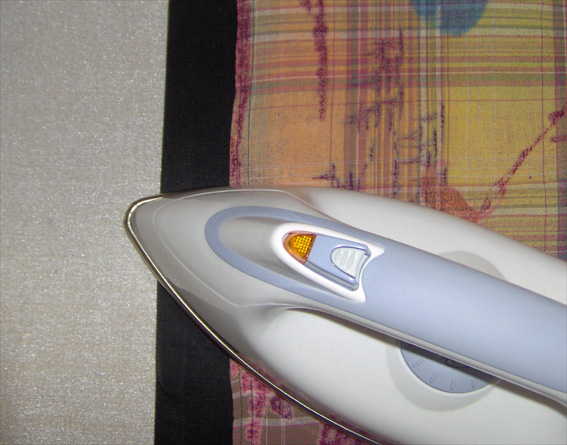
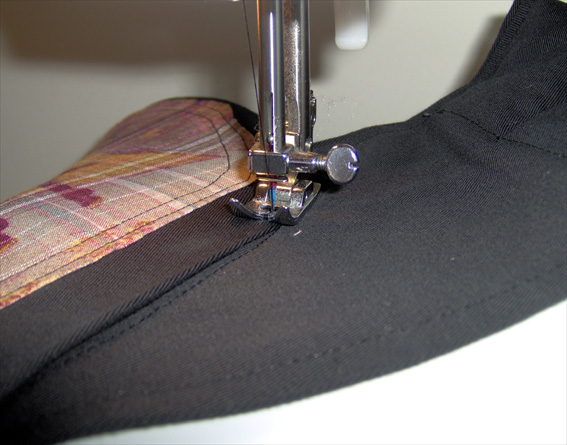
32. Iron your mei tai carefully (especially the edges). Do not iron the top part with a lot of pressure (so as not to ruin the padding).
33. Sew all the points you had left “open” earlier, that is, the front part at the points where the straps come out, catching together the straps and the back.
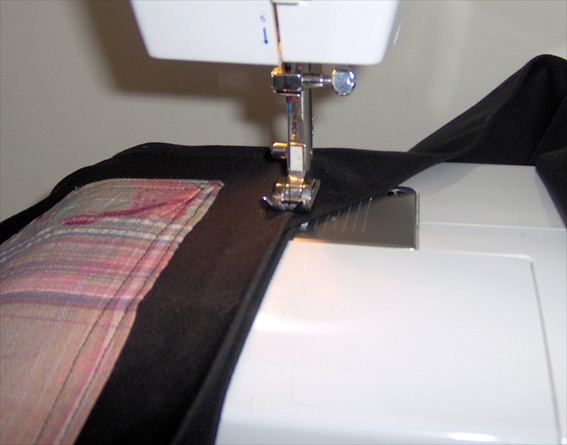
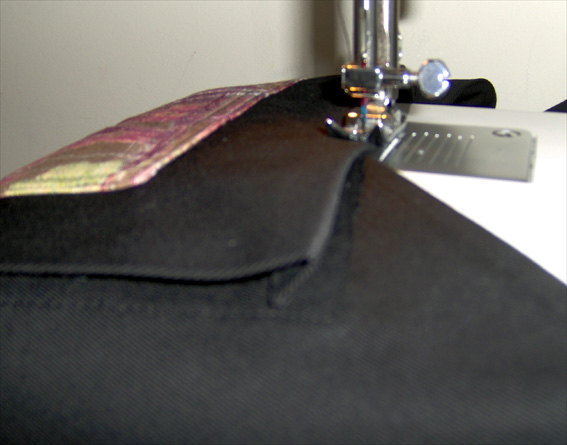
34. You will do the same at the bottom part. (So you have one more seam holding the straps in place, and one that actually catches both parts of the “body”, the front and the back).
35. When closing the bottom part, be careful that the front part aligns perfectly with the back. For the corners you can use as a “guide” the seam that shows underneath!
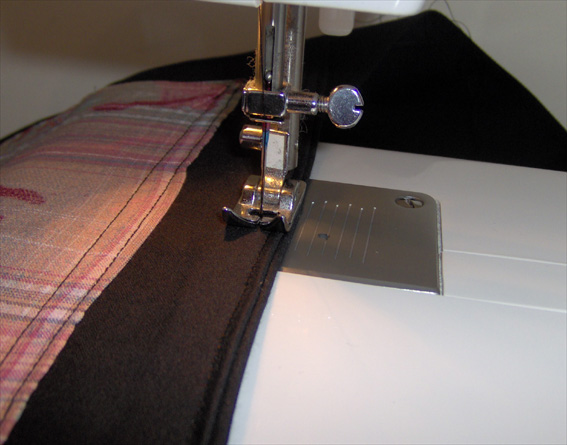
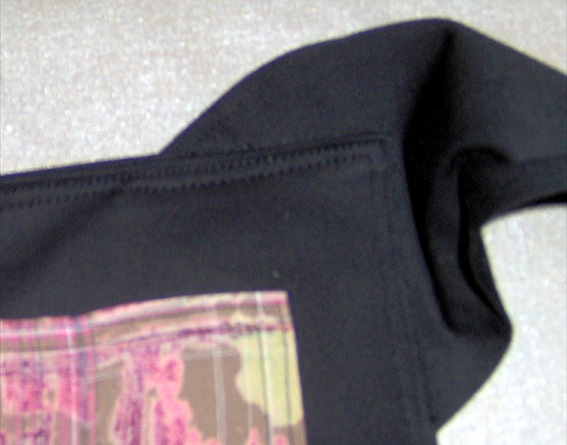
36. Now topstitch around the whole body of the mei tai, about 0.5 cm from the edge (topstitching).
37. This seam, besides making your mei tai look prettier, is one more seam that holds the straps in place!
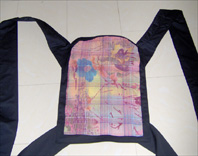
Your mei tai is ready! Congratulations and happy walks!
Note: As already mentioned, the front part of the body could be a different color from its back!
Try adding a small pocket or any other design you like!
Note: The above instructions are based to some extent on the instructions by Beth M., hosted on Jan Andrea’s website. 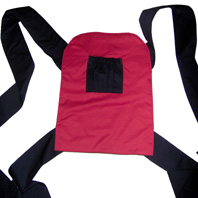
see instructions here: How to wear your mei tai!